
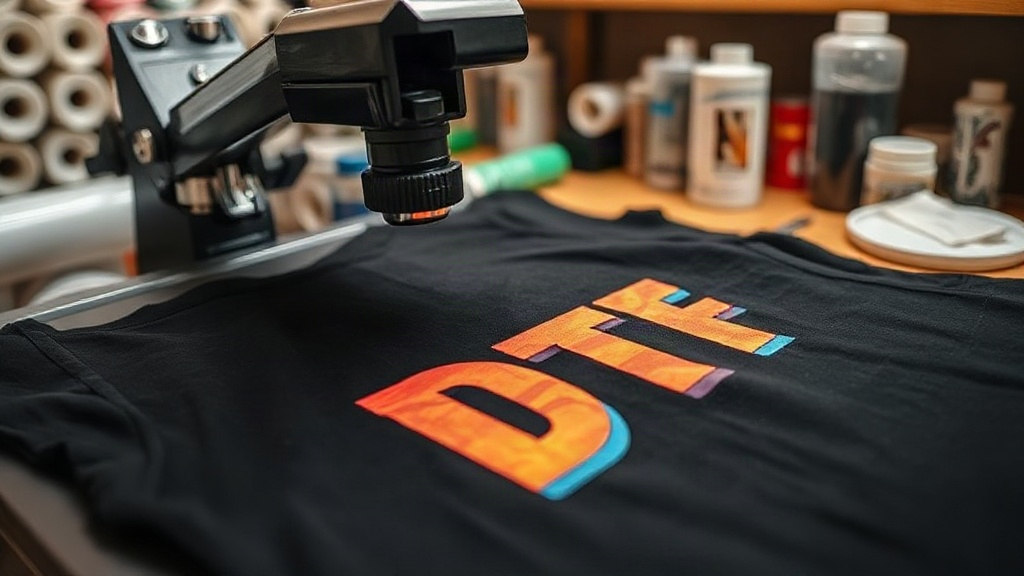
If you've been in the custom apparel game for even a short time, you've likely heard the buzz around DTF printing. It's not just another acronym; it's a method that's changing how small shops and large operations alike approach fabric decoration. Unlike screen printing or vinyl cutting, DTF (Direct to Film) lets you produce full-color, highly detailed transfers without the setup costs or color limitations of traditional techniques. But what does it actually take to get a flawless transfer? In this guide, I'll walk you through the entire process, share insights from my own trial-and-error, and help you avoid the mistakes that can ruin your prints.
What Exactly Is DTF Printing?
At its core, DTF printing involves printing a design onto a special film using a modified inkjet printer with pigment inks. The design is then coated with a hot-melt adhesive powder, cured, and pressed onto the fabric. The result is a soft, stretchable transfer that bonds permanently to cotton, polyester, blends, and even some synthetic materials. Because the design is printed on film first, you can achieve fine details, gradients, and photographic images that would be impossible with heat transfer vinyl (HTV).
Why Choose DTF Over Other Methods?
There are several reasons why DTF has become a go-to for many decorators:
- No color limits: Print as many colors as you want in one pass, including white ink for dark garments.
- No weeding: Unlike HTV, there's no tedious cutting and weeding of tiny details.
- Works on multiple fabrics: From 100% cotton to 50/50 blends and even nylon, DTF adheres well.
- Cost-effective for short runs: No screens or plates needed, so small batches are affordable.
- Durability: When applied correctly, DTF transfers outlast many other decorations.
I remember my first DTF order: a batch of 20 shirts with a complex logo. I was skeptical about the feel, but after pressing, the transfer was surprisingly soft and the colors popped. That experience sold me on the technology.
The DTF Process Step by Step
To get consistent results, you need to follow a precise workflow. Skipping steps or rushing will lead to cracked, faded, or peeling transfers. Here's how to do it right.
1. Design and Print
Start with a high-resolution image (300 DPI or higher). Mirror the design horizontally before printing. Use a dedicated DTF printer with pigment inks. The printer lays down a white ink base (for dark shirts) followed by CMYK inks. The white layer is crucial for opacity. If you're printing on light garments, you might skip the white base, but for dark colors, it's essential. I recommend printing at a resolution that balances detail and ink usage; too much ink can cause bleeding.
2. Powder Application
While the ink is still wet, apply hot-melt adhesive powder evenly over the film. You can do this manually or with a shaker machine. Gently shake off excess powder; too much powder leads to a stiff, crusty feel. The goal is a uniform, thin layer that sticks only to the wet ink. This step is where many beginners fail: they either apply too little powder (poor adhesion) or too much (rough texture).
3. Curing
Cure the powder in an oven or with a heat gun until it melts and becomes glossy. The temperature should be around 320°F (160°C) for 2-3 minutes. Overcuring can cause the film to warp; undercuring means the powder won't melt properly. I use a small convection oven with a thermometer to ensure accuracy. Once cured, the transfer is ready to press or store.
4. Heat Pressing
Set your heat press to 320°F (160°C) with medium pressure. Pre-press the garment for 5-10 seconds to remove moisture. Place the transfer on the fabric, cover with a Teflon sheet or parchment paper, and press for 15-20 seconds. Peel the film while it's hot (hot peel) or after it cools (cold peel) depending on the film type; most modern films are hot peel. After peeling, press again for 5-10 seconds with a cover sheet to ensure full adhesion.
Common Mistakes and How to Avoid Them
Even seasoned pros run into issues. Here are the most frequent problems and their solutions.
Transfer Peeling After Wash
This usually happens due to insufficient pressure, incorrect temperature, or undercured powder. Make sure your press is calibrated (use a pressure gauge or test with a heat press thermometer). Also, verify that the powder is fully melted. If the transfer peels, try increasing pressure and ensuring even coverage.
Dull or Faded Colors
Fading often results from overcuring the ink during the printing phase or using low-quality ink. Always use reputable DTF inks and follow the printer manufacturer's guidelines. Also, when pressing, avoid excessive heat that can scorch the ink.
Stiff or Rubbery Feel
Too much powder or overpressing can make the transfer feel like plastic. Use a fine-grade powder and apply sparingly. A good test: after pressing, the design should stretch with the fabric without cracking.
Essential Supplies for DTF Printing
To get started, you'll need:
- A DTF printer (or outsource printing to a service)
- DTF film (cold or hot peel)
- Hot-melt adhesive powder
- Curing oven or heat gun
- Heat press with accurate temperature and pressure
- Heat-resistant tape and Teflon sheets
Investing in quality supplies pays off in consistency. I've tried cheap films and powders; they often lead to more headaches than savings.
DTF vs. Other Printing Methods: A Quick Comparison
How does DTF stack up against screen printing, DTG, and vinyl?
- Screen printing: Better for large orders, but setup costs and color limitations make it less flexible for small runs.
- DTG: Great for cotton, but requires pretreatment and can be less vibrant on dark shirts.
- Vinyl: Ideal for simple one-color designs, but weeding is time-consuming and multilayer designs are bulky.
- DTF: Best for full-color, detailed designs on various fabrics, with no minimums and low labor.
For a shop that offers both DTF and other methods, you can cater to a wider range of customer needs.
Frequently Asked Questions About DTF Printing
How long do DTF transfers last?
With proper application and care, DTF transfers can last 50+ washes. Turn garments inside out and wash in cold water; avoid bleach and high heat in the dryer.
Can I use DTF on polyester?
Yes, DTF works well on polyester and blends, but you may need to lower the pressing temperature slightly to avoid dye migration. Use a low-temperature adhesive powder if possible.
Do I need a special printer for DTF?
You can convert an Epson printer with DTF inks and a RIP software, or buy a dedicated DTF printer. Dedicated machines are more reliable for consistent production.
What's the difference between hot peel and cold peel DTF film?
Hot peel film allows you to remove the carrier sheet immediately after pressing, speeding up production. Cold peel requires the transfer to cool completely before peeling, which can yield a slightly softer finish.
How do I store unused DTF transfers?
Keep them in a cool, dry place away from direct sunlight. Place them in a sealed bag to prevent dust and moisture from affecting the adhesive.
Mastering DTF printing takes practice, but the versatility and quality it offers are worth the effort. Whether you're a hobbyist or a commercial decorator, understanding the nuances of the process will set you apart. If you're looking for high-quality DTF supplies and equipment, visit DTF Studio Pro to explore their range. With the right tools and knowledge, you'll be producing stunning transfers in no time.