
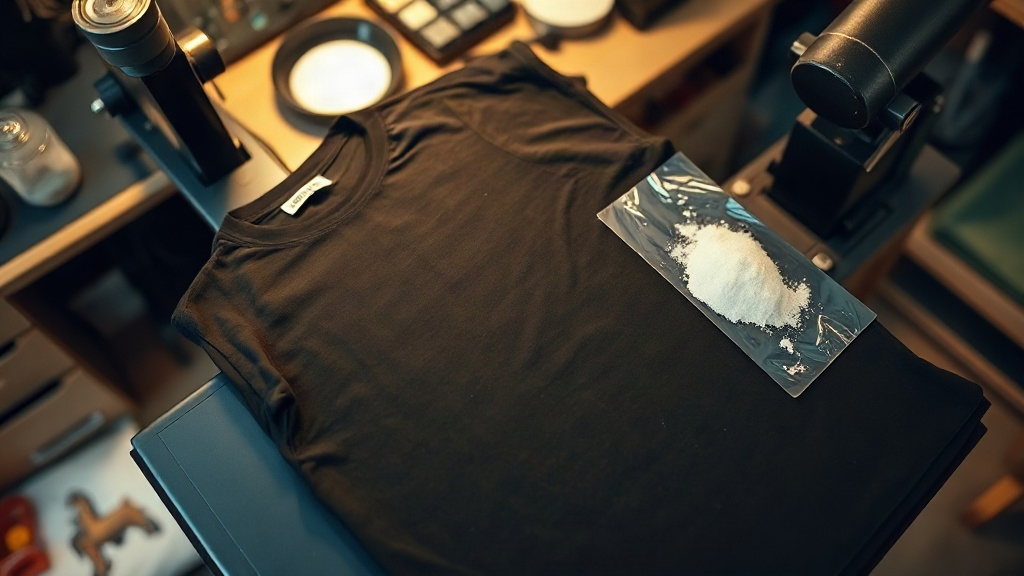
If you have spent any time in a print shop lately, you have probably heard someone say the letters "DTF" and watched everyone nod like it was obvious. But the first time you actually run a DTF transfer through a press, you realize the process has more moving parts than the internet admits. Film, ink, powder, heat, pressure, and time all have to line up. Get any one of them wrong and you end up with a cracked, faded, or gummy print that peels after the third wash.
This guide is for the person who already owns or is about to buy a DTF printer and wants to skip the expensive trial-and-error phase. We will go through how the process actually works, where beginners lose money, and the small habits that separate a shop with a 20 percent reprint rate from one that almost never reprints.
What Actually Happens During DTF Printing
DTF stands for direct to film. Instead of printing straight onto a shirt, you print a mirror image onto a special PET film, coat it with a hot-melt adhesive powder, cure that powder, and then heat press the whole thing onto fabric. The ink sits on top of the powder, and the powder is what actually bonds to the garment. That is the part most people gloss over, and it is the reason DTF works on cotton, polyester, blends, nylon, and even some leathers without the color limitations that plague other methods.
The film is the carrier. The ink is the image. The powder is the glue. If you remember nothing else from this article, remember that the powder is doing the heavy lifting, not the ink.
Why the Powder Matters More Than the Printer
New buyers obsess over printhead brand and DPI. Those matter, but they are not where transfers fail. Transfers fail at the powder stage. Too little powder and the ink will not anchor to the fabric, so it flakes off in the wash. Too much powder and you get a thick, stiff, plastic-feeling print that cracks when stretched. The goal is an even, thin layer that covers the wet ink completely without piling up.
Shake the powder tray gently rather than dumping powder on. A light manual sprinkle followed by a shake-off is more consistent than a thick pour, especially for small, detailed artwork where excess powder clogs fine lines.
The Four Stages and Where They Go Wrong
1. Printing the Film
Print on the correct side. Most films have a coated side that grabs ink and a back side that does not. If you print on the wrong side, the ink will bead or smear and the transfer will look wet and blurry. Test your film with a small drop of water. The coated side will hold the droplet; the back side will let it run.
Keep your white ink circulating. White pigment is heavy and settles fast. If your printer sits for even a few hours without agitation, white lines and weak opacity follow. Run a small purge before a big job, and never let white sit overnight in an idle machine without a recirculation cycle.
2. Powdering
Powder while the ink is still wet. This is non-negotiable. If the ink dries even partially, the powder will not stick and you will see bare patches after pressing. Work quickly, and powder small sections if you are running a long print.
3. Curing the Powder
Curing is where the adhesive melts and fuses. Under-cured powder looks grainy and washes out. Over-cured powder yellows, especially on white areas, and can scorch the film. A tunnel oven or a heat gun both work, but a heat gun demands constant motion. Hold it still for two seconds too long and you will melt a hole in the film. Move in slow, steady passes until the powder goes from white and grainy to clear and glossy. That glossy look is your signal.
4. Pressing the Transfer
Press temperature, pressure, and time all matter, and they depend on your fabric. A typical starting point is 160 to 165 degrees Celsius for 15 seconds at medium pressure, but polyester needs lower heat to avoid dye migration, and thick cotton may need a few extra seconds. Always peel cold. Hot peeling pulls ink off the fabric and stretches the print. Let the transfer cool completely, then peel the film back at a low angle.
Common DTF Mistakes and How to Fix Them
- Print peels after washing. Usually under-cured powder or too little pressure. Increase press time slightly and check that your press is actually applying even pressure across the whole platen.
- Cracking when stretched. Too much powder. Use less and shake off the excess.
- Dull or faded colors. White ink starvation or a clogged head. Purge and check your white channel.
- Yellowing on white garments. Over-curing or pressing too hot. Lower temperature and shorten dwell time.
- Stiff, rubbery feel. Excess powder and heavy ink laydown. Reduce both.
Building a Repeatable Workflow
The shops that make DTF look easy are not using secret settings. They are consistent. They keep a log of temperature, time, and pressure for every fabric they run. They test each new film and powder batch with a small sample before committing to a 50-shirt order. They clean their printheads on a schedule instead of waiting for a clog.
Start a simple notebook or spreadsheet. Record the fabric, the press settings, and the result. After twenty or thirty jobs you will have your own reference that beats any generic chart online, because it reflects your printer, your powder, and your press, not someone else's setup.
Frequently Asked Questions
Can you DTF print on dark polyester without dye migration?
Yes, but you need to keep the press temperature lower, often around 140 to 150 degrees Celsius, and use a low-bleed film or a barrier layer. High heat pulls dye from the polyester into the ink and you get a muddy print.
How long should a DTF transfer last on a shirt?
With correct powdering, curing, and pressing, a transfer should survive 50 or more washes when the garment is washed inside out in cold water and tumble dried low. Hot water and high dryer heat are what kill it early.
Do you need a special printer for DTF?
You need a printer that handles white ink and a DTF-specific ink set. Many people convert a desktop printer with a DTF conversion kit, but a dedicated DTF printer with white circulation is far less frustrating for daily production.
Why does my DTF transfer look grainy after pressing?
Grainy texture almost always means the powder was not fully cured or was applied too thick. Cure until the powder turns clear and glossy, and use a thinner layer.
Can you press DTF onto cotton and polyester with the same settings?
No. Polyester needs lower heat and often a shorter press. Cotton tolerates higher heat. Using one setting for both is a common reason transfers fail on one fabric type while working fine on the other.