
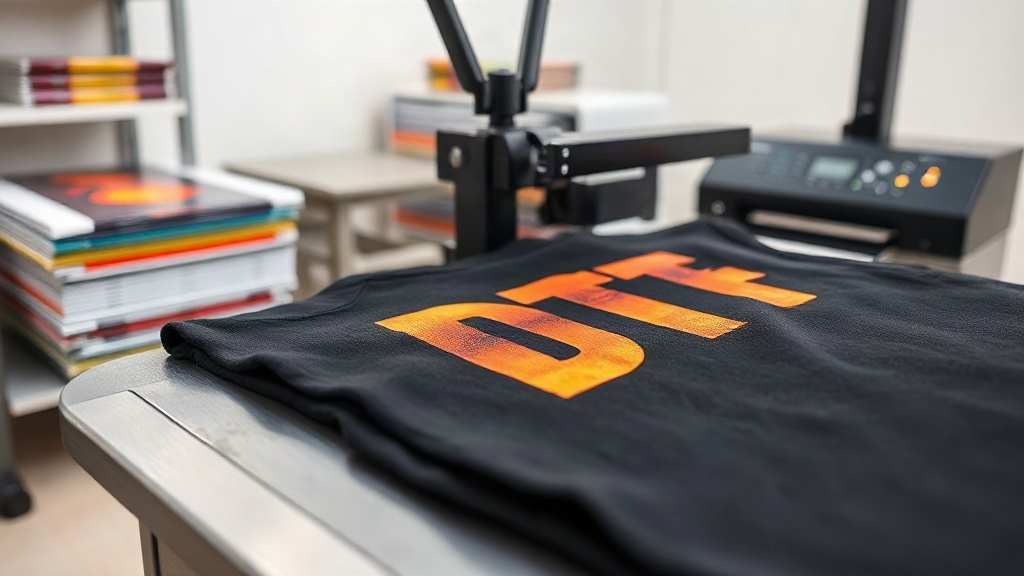
If you've been exploring custom apparel printing, you've likely encountered DTF Transfers. This innovative technology is rapidly gaining popularity for its versatility and vibrant results. Unlike traditional methods, DTF transfers allow you to print full-color designs on a wide range of fabrics without the need for specialized equipment or messy chemicals. In this guide, we'll walk you through everything you need to know to get started with DTF transfers and achieve professional-looking prints at home or in your shop.
What Are DTF Transfers?
DTF stands for Direct to Film. It's a printing process where your design is printed onto a special film using a DTF printer and then coated with a hot-melt adhesive powder. Once the powder is cured, the transfer is ready to be applied to fabric using a heat press. The film acts as a carrier, allowing the ink to release onto the fabric under heat and pressure. This method is compatible with cotton, polyester, blends, and even some treated synthetics, making it incredibly versatile.
Why Choose DTF Transfers?
There are several reasons why DTF transfers have become a go-to solution for many printers and crafters:
- No Weeding Required: Unlike vinyl, DTF transfers don't require you to weed out tiny details. You simply print, powder, cure, and press.
- Works on Multiple Fabrics: From 100% cotton to 50/50 blends and even 100% polyester, DTF transfers adhere well to a variety of materials.
- Vibrant Colors: DTF printers use CMYK plus white ink, allowing for bright, opaque designs on both light and dark garments.
- Durability: When applied correctly, DTF transfers can withstand dozens of washes without fading or cracking.
- Cost-Effective for Short Runs: No screens or plates are needed, making it ideal for small batches and one-off designs.
How to Apply DTF Transfers: Step-by-Step
Applying a DTF transfer is straightforward, but following the correct steps ensures a lasting, professional finish. Here's what you need to do:
- Prepare Your Heat Press: Set the temperature to 325°F (160°C) and adjust the pressure to medium-high.
- Pre-Press the Garment: Place the garment on the press and press for 5-10 seconds to remove moisture and wrinkles.
- Position the Transfer: Place the DTF transfer on the garment with the printed side facing up.
- Press: Cover with a Teflon sheet or parchment paper and press for 15-20 seconds.
- Peel: Allow the transfer to cool completely before peeling off the film. This is called a "cold peel."
- Post-Press (Optional): For extra durability, press again for 5-10 seconds with a cover sheet.
Common Mistakes to Avoid
Even with a simple process, some pitfalls can ruin your results. Here are a few common mistakes and how to avoid them:
- Insufficient Pressure: Too little pressure prevents the adhesive from fully bonding. Adjust your press accordingly.
- Wrong Temperature: Too hot can scorch the fabric or melt the film; too cold leads to poor adhesion. Always check with a heat gun or infrared thermometer.
- Peeling Too Soon: Peeling while hot can cause the design to stretch or leave residue. Wait until it's cool.
- Not Pre-Pressing: Skipping pre-pressing can trap moisture, leading to bubbles or weak adhesion.
DTF vs. Other Printing Methods
How does DTF stack up against other popular techniques?
- DTF vs. DTG: DTG (Direct to Garment) requires pre-treatment and works best on 100% cotton. DTF is more versatile and often more vibrant on dark shirts.
- DTF vs. Vinyl: Vinyl is great for simple, single-color designs but can't handle complex gradients or photos. DTF excels with detailed, multi-color artwork.
- DTF vs. Screen Printing: Screen printing is cost-effective for large orders but requires setup and is limited in colors. DTF is better for small runs and full-color designs.
Tips for Long-Lasting DTF Prints
To ensure your DTF transfers stand the test of time, follow these care tips:
- Wash the garment inside out in cold water.
- Avoid fabric softeners and bleach.
- Tumble dry on low or hang dry.
- Do not iron directly on the print.
Frequently Asked Questions
Can I use DTF transfers on 100% polyester?
Yes, DTF transfers work well on polyester. However, polyester requires a lower pressing temperature (around 300°F) to prevent dye migration. Always test a small area first.
How long do DTF transfers last?
With proper application and care, DTF transfers can last 50+ washes. The key is using the right temperature, pressure, and cold peel method.
Do I need a special printer for DTF?
Yes, you need a DTF printer that uses DTF inks and can print white ink. However, you can also buy pre-printed DTF transfers from suppliers if you don't want to invest in a printer.
What is the best way to store DTF transfers?
Store unused DTF transfers in a cool, dry place away from direct sunlight. Keep them flat to prevent curling.
Can I layer DTF transfers?
Yes, you can layer DTF transfers for multi-color designs. Just press the first layer, then apply the next layer on top, pressing each layer separately.
With their ease of use and stunning results, DTF transfers are a game-changer for custom apparel. Whether you're a hobbyist or a professional, mastering this technique opens up endless creative possibilities. So gather your designs, fire up your heat press, and start creating!