
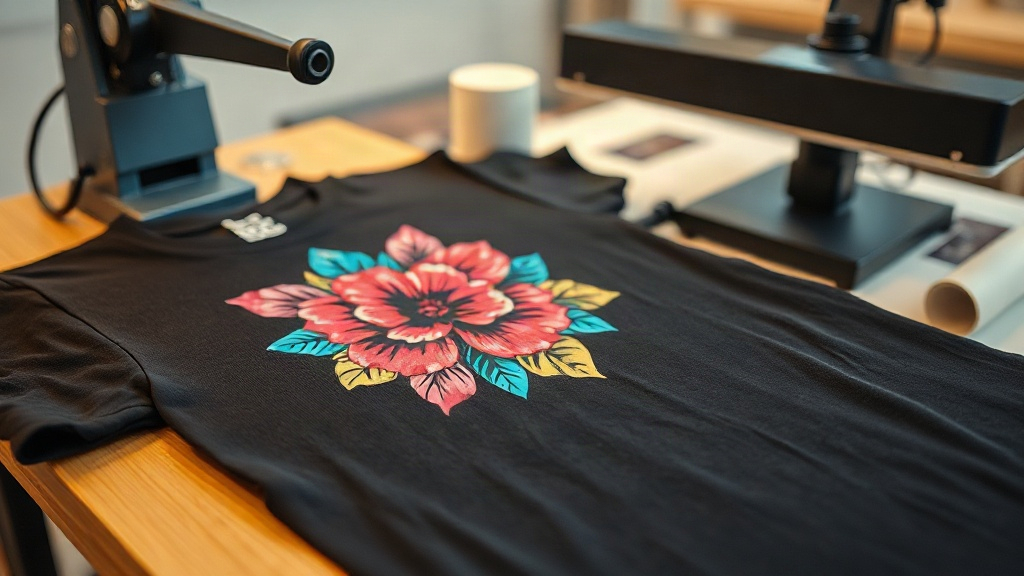
When a customer hands you a 50/50 poly-cotton hoodie or a sleek nylon jacket and asks for a full-color design, traditional screen printing or vinyl often falls short. The ink won't adhere, the colors won't pop, or the feel is too stiff. That's where DTF Transfers change the game. Direct-to-film printing has quickly become the go-to solution for decorators who need to decorate tricky fabrics without compromising on vibrancy or durability. In this guide, I'll walk you through the entire process, from understanding the film and powder to pressing techniques that ensure your transfers survive the wash. Whether you're a seasoned pro or just starting out, you'll find actionable insights to elevate your craft.
What Are DTF Transfers and Why They Matter
DTF Transfers are printed on a special PET film using water-based pigments. The design is printed in reverse, coated with a hot-melt adhesive powder, and then cured. When you press it onto a garment, the adhesive bonds with the fabric fibers, and the film is peeled away, leaving the design behind. Unlike DTG, which requires pre-treatment and works best on 100% cotton, DTF adheres to a wide range of materials: cotton, polyester, blends, nylon, leather, and even some treated synthetics. This versatility is why DTF has exploded in popularity among small shops and large production facilities alike.
Another advantage is the ability to print on dark garments without a white underbase. The white ink layer is printed as part of the design, so you get opaque, bright colors on black or navy shirts without the hassle of multiple screens. Plus, the stretch and durability of DTF prints make them ideal for activewear and performance gear.
The DTF Printing Process Step by Step
To achieve consistent results, you need to control each stage of the process. Here's how it works in practice.
1. Design Preparation
Start with a high-resolution file (300 DPI or vector). Remember that DTF prints the design in reverse, so you must mirror the artwork horizontally. Also, consider the color profile: DTF printers use CMYK plus white, so bright neons or metallic colors may need adjustments. I always recommend a test print on scrap fabric to check color accuracy.
2. Printing on Film
Load the PET film into your DTF printer. The printer lays down a layer of white ink first (or last, depending on the printer setup), followed by CMYK. The white layer is crucial for opacity on dark fabrics. Ensure the printer is calibrated and the ink is well-shaken to avoid clogs. Humidity and temperature in your workspace can affect ink flow, so maintain a stable environment.
3. Powder Application
While the ink is still wet, the film passes through a powder shaker that applies a fine layer of hot-melt adhesive. You must shake off excess powder; too much leads to a rough feel, too little causes poor adhesion. This step is often automated in commercial units, but manual operations can use a powder shaker or even a sieve. The goal is an even, thin coating.
4. Curing
The powder must be melted and cured. This is typically done in a conveyor oven or heat press. The film goes through a tunnel at around 320°F (160°C) for 2-3 minutes, or you can use a heat press at 320°F for 15-20 seconds with low pressure. Curing activates the adhesive and ensures the print will withstand washing. Under-curing results in cracking and peeling; over-curing can yellow the film or degrade the adhesive.
5. Pressing onto the Garment
Set your heat press to 320°F (160°C) with medium pressure (40-60 PSI). Pre-press the garment for 2-3 seconds to remove moisture. Place the transfer on the fabric, adhesive side down. Press for 10-15 seconds. For the best results, use a cover sheet or parchment paper to protect the film. After pressing, wait for the film to cool completely before peeling. Cold peel gives a matte finish and better adhesion; hot peel can work but may leave residue.
Choosing the Right Fabrics for DTF Transfers
While DTF is versatile, not all fabrics are equal. Here's a quick breakdown:
- 100% Cotton: Excellent adhesion, soft hand. Ideal for t-shirts, hoodies.
- Polyester: DTF works well, but lower temperatures may be needed to avoid dye migration. Use a low-melt powder for best results.
- Blends (50/50): Great, as the cotton provides grip and polyester adds durability.
- Nylon: Requires a special adhesive powder or a bonding agent. Without it, the print may peel.
- Leather: Can be decorated, but test first; some finishes repel the adhesive.
Always test on a scrap piece before running a full production batch.
Common Pitfalls and How to Avoid Them
Even experienced decorators run into issues. Here are the most common and how to fix them:
- Peeling after wash: Usually due to under-curing or insufficient pressure. Increase cure time or pressure, and ensure the fabric is clean and dry.
- Cracking: Often caused by too much powder or over-stretching the garment. Use less powder and avoid stretching the print area.
- Dull colors: Could be from low ink saturation or expired film. Check your printer settings and film storage (keep away from moisture).
- Adhesive residue on film: Indicates incomplete curing. Re-cure the transfer before pressing.
Keeping a log of your settings for each fabric type will help you dial in the perfect recipe.
DTF Transfers vs. Other Decoration Methods
How does DTF stack up against screen printing, DTG, and vinyl? Screen printing is cost-effective for large orders but struggles with complex gradients and dark garments. DTG excels on 100% cotton but requires pre-treatment and has limited fabric compatibility. Vinyl is great for simple designs but not for full-color photos. DTF bridges the gap: it handles intricate designs, works on almost any fabric, and requires no pre-treatment. The trade-off is a slightly higher cost per print for small runs, but as volume increases, DTF becomes very competitive.
FAQ: Your DTF Transfer Questions Answered
How long do DTF transfers last?
When properly applied and cared for, DTF transfers can last 50+ washes. To maximize longevity, wash inside out in cold water and tumble dry low. Avoid ironing directly on the print.
Can I use DTF transfers on 100% polyester?
Yes, but you need to adjust your press settings. Use a lower temperature (around 280-300°F) to prevent dye migration, and consider a low-melt adhesive powder. Always test first.
Do I need a special printer for DTF?
You can convert an existing DTG printer with DTF inks and a powder shaker, but dedicated DTF printers are optimized for the process. They handle the white ink circulation and film feed more reliably.
What's the difference between hot peel and cold peel DTF transfers?
Hot peel transfers are peeled immediately after pressing while the adhesive is still warm; they tend to have a slightly glossier finish. Cold peel transfers must cool completely before peeling, resulting in a matte finish and often better durability. The choice depends on your film and powder type.
How do I store unused DTF transfers?
Keep them in a cool, dry place away from direct sunlight. Humidity can cause the adhesive to clump, so store them in an airtight container with silica gel packets if possible.
Mastering DTF Transfers opens up a world of possibilities for decorating garments that were once off-limits. With the right techniques and a bit of practice, you'll be able to deliver vibrant, long-lasting prints that your customers will love. Remember to test, log your settings, and always prioritize quality over speed. Your reputation as a decorator depends on it.