
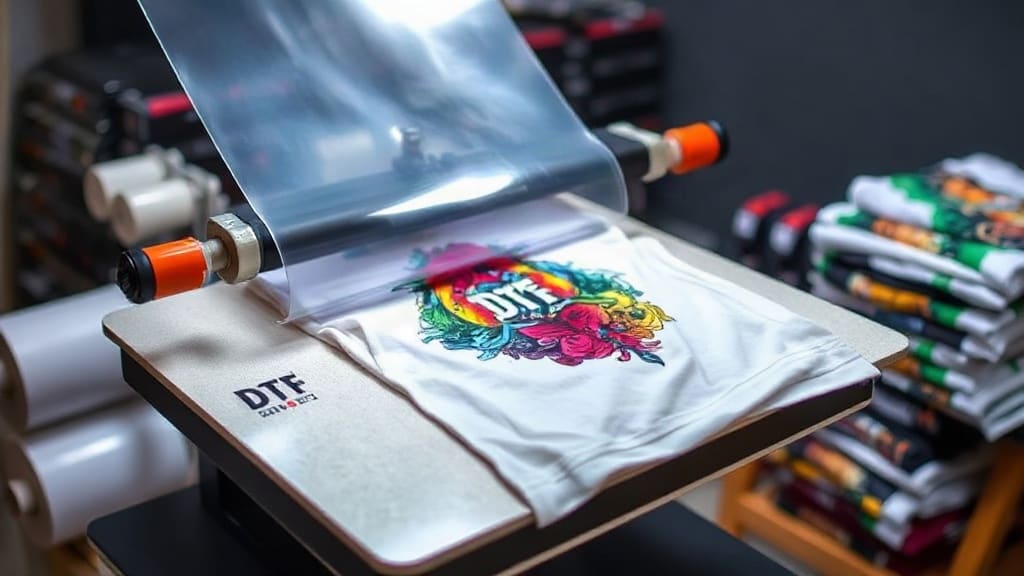
DTF transfers have revolutionized the custom apparel industry. If you're looking for a versatile, cost-effective, and high-quality method to create custom t-shirts, hoodies, or tote bags, DTF transfers are the answer. Unlike traditional heat transfer vinyl or screen printing, DTF transfers offer unmatched detail and durability. In this guide, we'll explore everything you need to know about DTF transfers, from the basics to advanced tips, so you can create stunning custom products with ease.
What Are DTF Transfers?
DTF stands for Direct to Film. It is a printing method where a design is printed onto a special PET film using a DTF printer, then coated with adhesive powder. The film is then heat-pressed onto a substrate, transferring the design. This technique is popular because it works on a wide range of fabrics, including cotton, polyester, blends, and even hard surfaces like mugs and phone cases.
Compared to other methods, DTF transfers offer superior flexibility. You can print intricate designs with gradients and fine details without worrying about weeding or layering. Plus, the prints are soft to the touch and highly durable, making them ideal for items that are washed frequently.
How DTF Transfers Work
The process of creating DTF transfers involves several steps:
- Design creation: Using graphic design software, you create or prepare your artwork. Ensure colors are set to CMYK for best results.
- Printing: The design is printed onto a special DTF film using a printer equipped with DTF inks. White ink is printed as a base layer to make colors pop on dark fabrics.
- Adhesive application: The printed film is passed through a powder shaker or manually coated with hot-melt adhesive powder. Excess powder is removed, leaving powder only on the printed areas.
- Curing: The film is heated to melt the adhesive powder, making it sticky and ready for transfer.
- Transfer: The film is placed onto the substrate, and a heat press is applied with the recommended temperature, pressure, and time.
- Peeling: After pressing, you peel the film away, leaving the vibrant design on the fabric.
Choosing the Right DTF Film
The quality of the film is crucial. Look for PET films that are specifically designed for DTF printing. They should be smooth, have a coating that ensures proper ink adhesion, and be compatible with your printer. Some films come with a blue or clear backing; the choice depends on your preference and the printer's requirements.
Benefits of Using DTF Transfers
Why should you consider DTF transfers for your next project? Here are some compelling reasons:
- Versatility: DTF works on a wide range of fabrics, including cotton, polyester, nylon, and blends. It also adheres to leather, wood, and many other surfaces.
- Detail and Color: The prints are sharp and vibrant, with high color accuracy. Even complex designs with fine lines and gradients are reproduced beautifully.
- Durability: DTF transfers are stretchy and resistant to cracking and peeling. They can withstand many washes without fading.
- Soft Hand Feel: Unlike some other methods, DTF prints are soft and don't leave a heavy plastisol layer, making the garment comfortable to wear.
- Cost-Effective: For small to medium runs, DTF is more affordable than screen printing because there's no setup cost. You can print on demand.
Comparing DTF to Other Methods
When you compare DTF to heat transfer vinyl (HTV) or sublimation, DTF often comes out on top for full-color designs. HTV requires weeding and layering for multi-colored designs, which is time-consuming. Sublimation only works on polyester or light-colored fabrics. DTF eliminates these limitations.
How to Use DTF Transfers: Step-by-Step Guide
Using DTF transfers is straightforward, but following the correct procedure ensures the best results.
Materials Needed
- DTF transfer print (from a DTF printer or purchased from a supplier)
- Heat press
- Parchment paper (optional, for covering the design during pressing)
- Garment or item to decorate
Step-by-Step Instructions
- Pre-press the garment: For a few seconds, press the garment to remove wrinkles and moisture. This helps the transfer adhere better.
- Position the transfer: Place the DTF transfer film with the printed side facing down on the desired location. Make sure it's centered and even.
- Cover with parchment paper: To protect the film and garment, place a sheet of parchment paper over the transfer.
- Press: Set your heat press to the recommended temperature (usually around 320°F to 350°F) and apply firm pressure for 10-15 seconds. The exact time may vary based on the press and material.
- Peel: After pressing, remove the parchment paper and peel the film away. For best results, peel warm or cold depending on the film's instructions. Typically, hot peel is recommended for DTF.
- Post-press: Some suggest a final press with parchment paper for 5 seconds to ensure full adhesion and to remove any adhesive residue.
Troubleshooting Common Issues
If your transfer isn't sticking properly, check your temperature and pressure. Too low, and the adhesive won't melt; too high, and you might scorch the fabric. Also, ensure you're using the correct film for your fabric type. For stretchy materials, you might need a special stretchable DTF film.
Tips for Perfect DTF Transfers Every Time
To achieve professional-looking results, consider these expert tips:
- Use high-quality designs: Avoid low-resolution images. Vector files or high-res PNGs are ideal.
- Mirror your design: For text, always mirror it before printing so it reads correctly when transferred.
- Wash care: Advise your customers to wash the garment inside out in cold water and tumble dry low to extend the life of the print.
- Test first: Always test on a sample fabric to check color and adhesion before doing a final production run.
- Store properly: Keep unused DTF films in a cool, dry place away from direct sunlight.
Common Applications for DTF Transfers
DTF transfers are incredibly versatile. Here are some popular uses:
- Custom t-shirts for events, sports teams, and companies
- Personalized gifts like mugs and tote bags
- Apparel for small businesses and boutiques
- Workwear and uniforms with detailed logos
- Pet apparel and accessories
Frequently Asked Questions
Can DTF transfers be used on dark fabrics?
Yes, DTF transfers work excellently on dark fabrics. The white ink base ensures that the design stands out with vivid colors. This is a significant advantage over many other methods that require a white underbase or only work on light colors.
How many washes can DTF transfers withstand?
With proper application and care, DTF transfers can withstand 50 or more washes without significant fading or cracking. The durability depends on the quality of the film, adhesive, and the pressing conditions.
Are DTF transfers eco-friendly?
Compared to some traditional methods, DTF transfers are more eco-friendly because they produce less waste. However, the inks and films do contain some chemicals. Look for eco-friendly options from suppliers if sustainability is a concern.
Do I need a special printer for DTF transfers?
Yes, DTF printing requires a printer that can handle DTF inks, which are typically solvent or pigment-based with a white ink option. Many people convert Epson printers for DTF use, but you can also purchase dedicated DTF printers.
Can I use DTF transfers on materials other than fabric?
Absolutely! DTF transfers can be applied to wood, glass, metal, and even leather. The key is to use the appropriate temperature and pressure for the substrate. Always test on a small area first.
Conclusion
DTF transfers are a game-changer in the custom printing world. Their versatility, durability, and stunning quality make them a top choice for businesses and hobbyists alike. Whether you're creating custom apparel for your brand or personalizing gifts, DTF transfers offer a simple and effective solution. By following the guidelines in this article, you can achieve professional results that will impress your customers and stand the test of time. So, why wait? Dive into the world of DTF transfers today and unlock endless creative possibilities.